In the previous article we learned how to install JupyterLab and the CrossCompute Analytics extension for JupyterLab. In this article let’s take a look around and get familiar with the JupyterLab interface.
For those jumping into this article and wondering what is JupyterLab, it is an interactive development environment for working with notebooks, code, and data. One of the striking features of the JupyterLab is its web-based user interface. Thus after running the following
jupyter lab
command in your terminal you will see your web-browser open a new window that loads the JupyterLab interface pictured below.
The CrossCompute Button
![]()
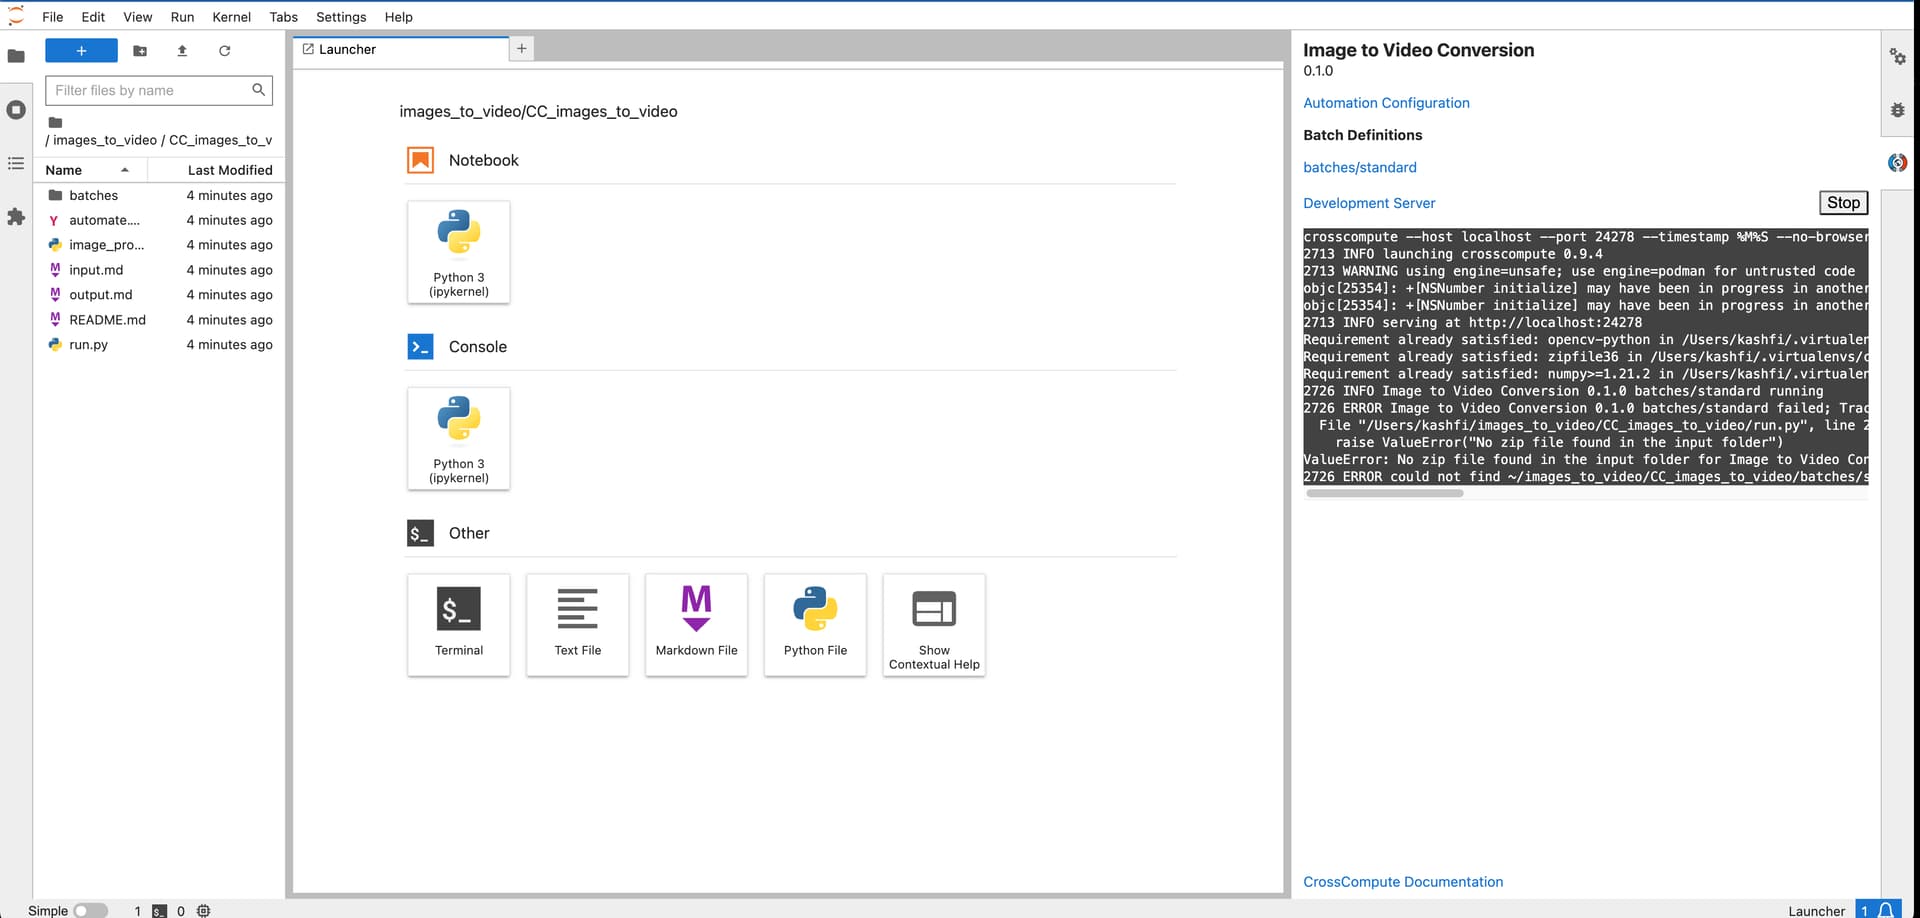
All the way to the right side of your screen, you will see a thin vertical strip with three icons stacked on top of each other. The last one with the colorful CrossCompute logo is the CrossCompute Button in JupyterLab. This button, when clicked, opens the CrossCompute Panel.
CrossCompute Panel
Clicking the CrossCompute Button opens the CrossCompute Panel on the right side of the interface. This panel contains commands that you can run to develop, debug, and deploy your tool. It displays logs and errors from the running server or executed code.
The File Browser
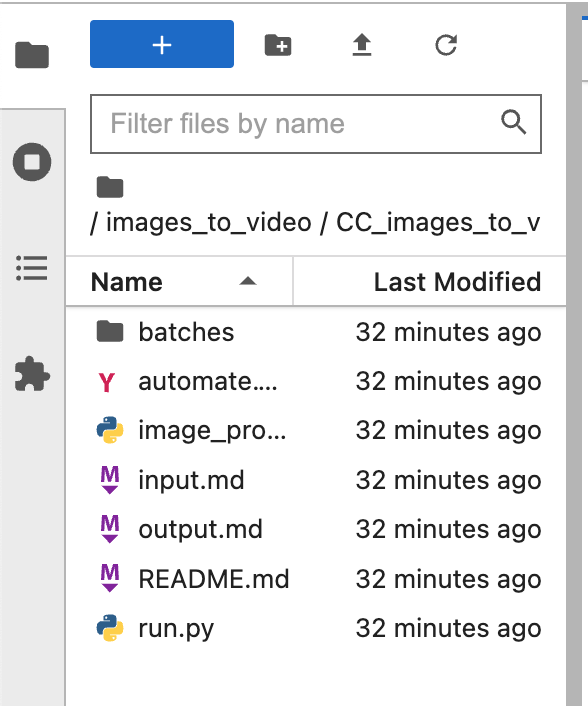
On the left side of the interface is the file browser where users can navigate through the file system, open notebooks, or create new ones. It has buttons at the top for refreshing the file list, navigating up a directory, and for creating new files or folders.
Main Work Area
The main work area, which occupies the center and right of the interface, allows users to open multiple notebooks or other documents simultaneously. Each document appears in its own tab for easy access.
Menu Bar
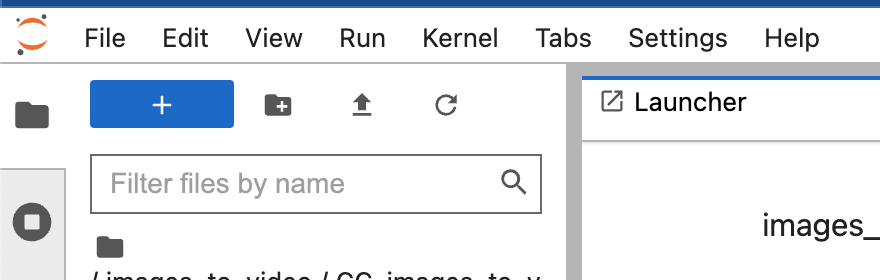
At the top is the menu bar, which includes drop-down menus for actions related to file operations, editing, viewing various parts of the interface, running code, adjusting kernel options, and accessing help resources.
Open Tabs
Just below the menu bar, you can see the open tabs for different documents, which in this case include the Jupyter Notebook, a terminal, and a few other options.
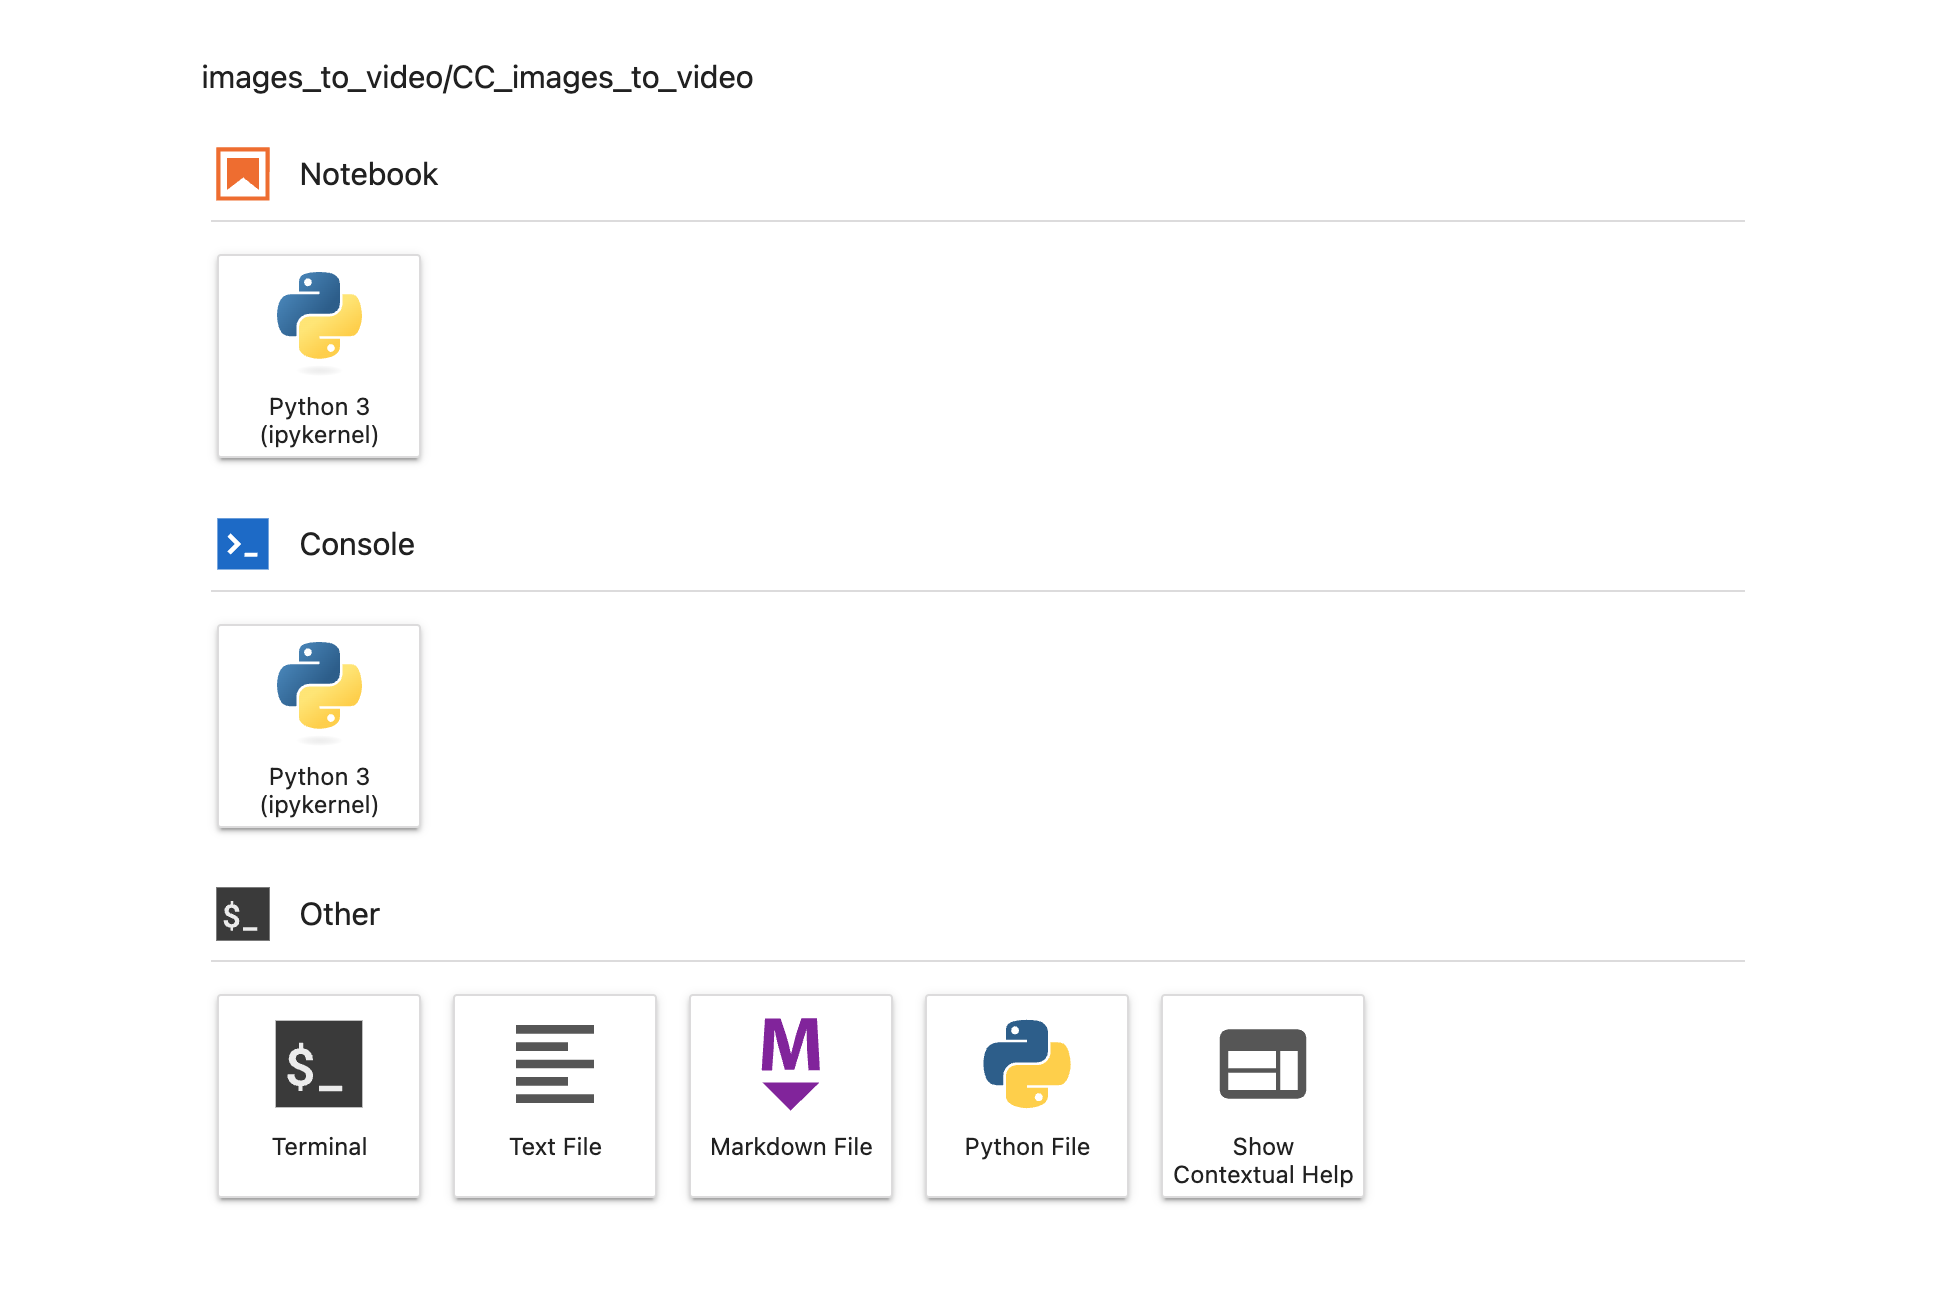
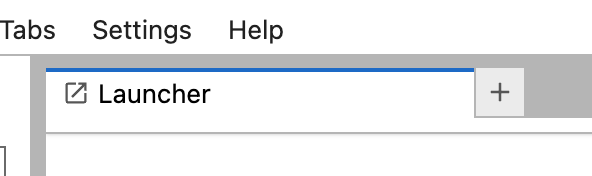
Launcher
The launcher is a quick way to start new notebooks, open a terminal, or create other types of documents. It is typically presented with large icons for convenience.
Terminal
Within the JupyterLab environment you will find a command-line interface called the terminal. The terminal allows you to run shell commands directly from Jupyter Lab. The terminal will come in handy for managing Python environments and managing version control with git.
Together with JupyterLab, our CrossCompute extension is designed to be applicable for a wide array of workflows and tools within the data science ecosystem. It enables the you to work with documents, scripts, notebooks in a flexible and integrated manner.